Submitted by Varun Kumar
How do-it-yourself soak pits can augment groundwater locally
India Architecture News - Sep 03, 2019 - 12:12 29497 views

"All the water that will ever be, is right now." - National Geographic.
Soak pits are essentially entry points on our pavements to relink the earth below to the Hydrological cycle by collecting rainwater runoffs.
We’re just ahead of this year’s monsoon in Tamil Nadu and many were baptized by fire over a waterless summer to start digging up their own pits. The municipal corporation adds to the pressure with site checks for pit presence.
These pits are capable of being integrated into any site condition with their technical know-how, and a moral will to build them to replenish your locality’s groundwater.
Effects of a soak pit
A soak pit, for as long as it rains, will keep draining water into the ground. This will raise the water table temporarily at its point. Once it fills up, the pit starts bearing the water’s weight, cushioned by the earth below. This weight loosens up the soil beneath and new pores open up for water to recharge.
It is hence crucial to decide the point on your site away from a footing, and preferably near a well. This can first replenish your site’s water supply. The blue metal filling’s purpose plays here by filtering any solid waste that could clog up the soil if passed in with rainwater runoff.
The earth will spread the water around into the soil layers and eventually refill the aquifer. Man cannot draw plots underground but a soak pit is advised for him to keep the hydro-cycle flowing and serve himself and his friends with water.
Precautionary measures before excavating a pit
Soak pits come in various concepts, but the ones prominent recently in Chennai are the barrel pits and concrete ring pits, being cost effective.
Check soil the type and guess the existing details on your site. In Chennai, we can typically see sandy, clayey, and rocky soil. Sandy soils are very easy to excavate while the other types need muscle. This prerequisite can help us plan our work better.
Check for footing types, pipelines, dwarf walls or plinth beams. Running into one of them during excavation raises anxiety and blows up expenses.
Soil can cave in or disintegrate from the sides during excavation if the earth is loose. We can avoid it by excavating larger areas near the surface and narrowing down, to create platforms. This is optional as soil doesn’t cave in easily everywhere. It could only be a risk in deeper pits.
If your site gathers mud by rainwater runoff, possibly from the road into the site, ensure a filter gutter is in place. If too much mud is filtered by the gravel in the soak pit, it blocks the seepage and water will stagnate.
Check proximity to your rainwater pipe line, before excavation, to avoid long connections. Pits closer to rainwater pipes avoid lengthier pipe purchases and extra work.
Construction sequence for a barrel system
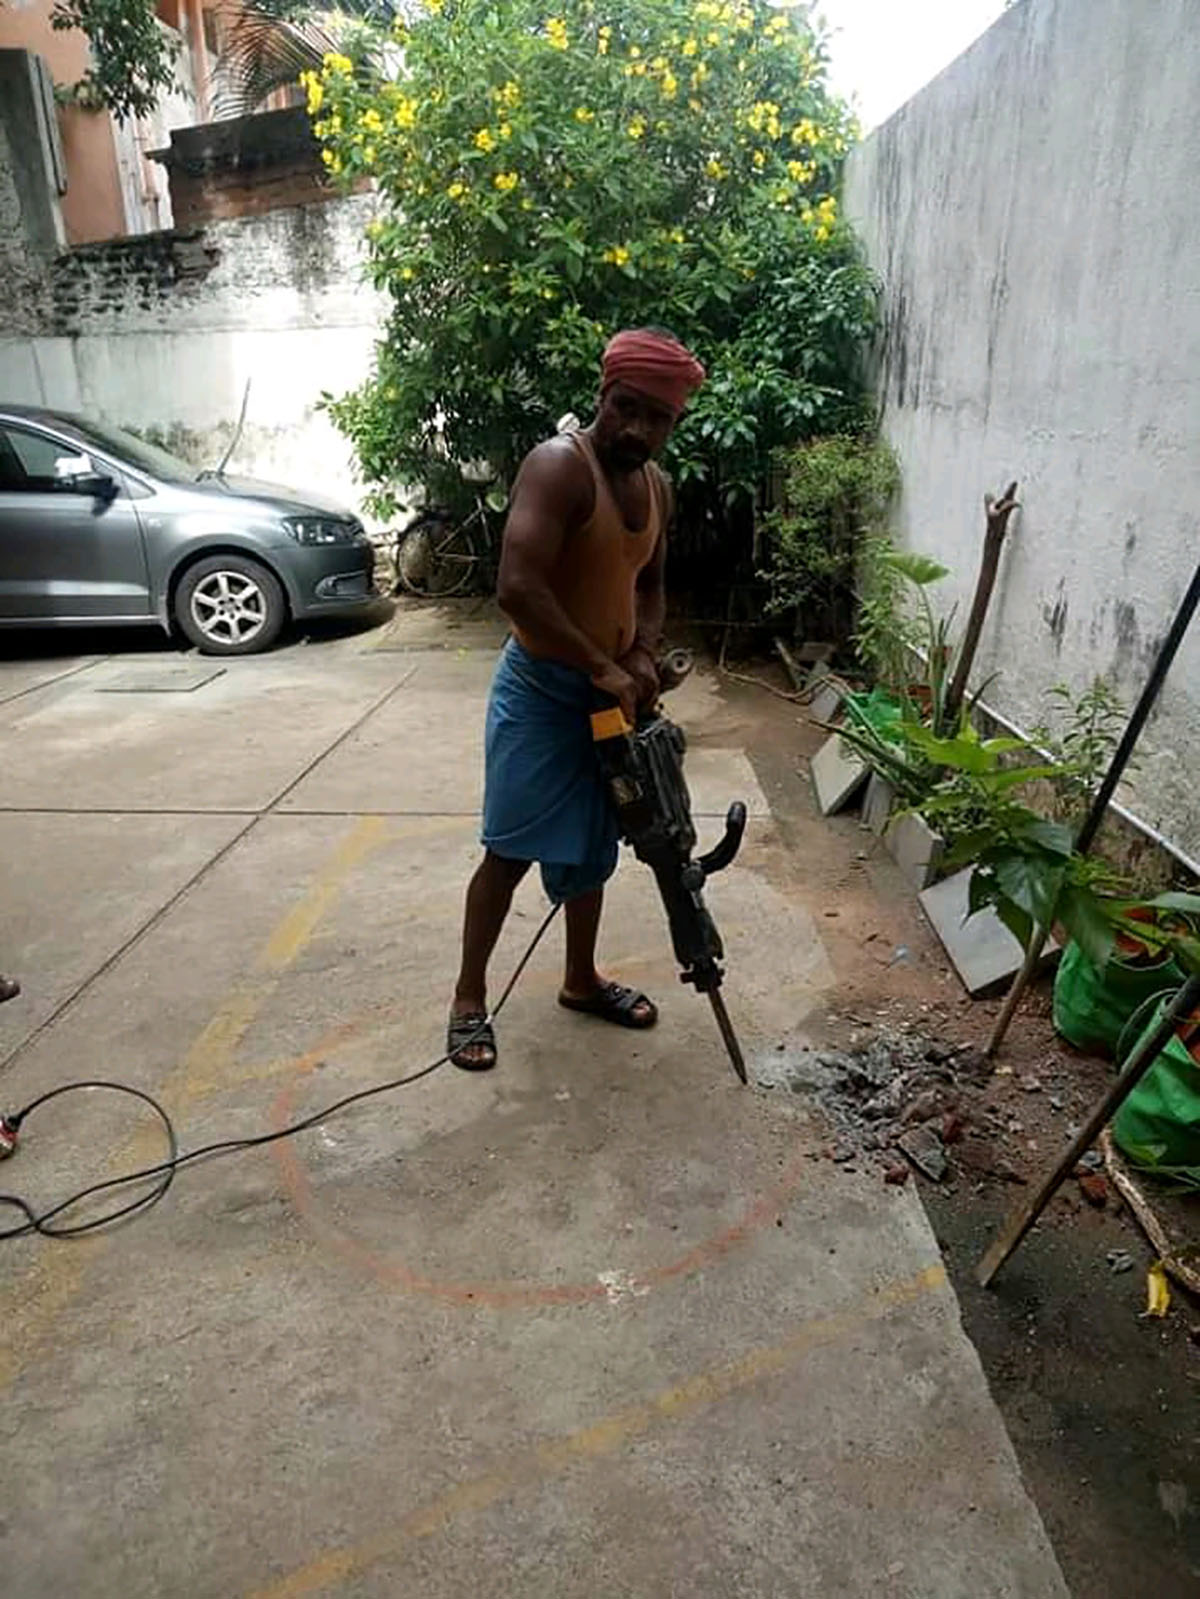
Barrel pits are only 5’ to 6’ deep and work well for areas up to 600 sqft. Typically sites here have a flat concrete surface or are paved with blocks. A breaker machine can break the concrete and the blocks need to be cut out.
Excavate a 4’ by 4’ pit for a depth of 5’. Pour away the debris near by the excavation, in case you need it to refill. If there’s no space and the homeowner wants the debris far away, use a site trolley to carry it and avoid labor exhaustion.
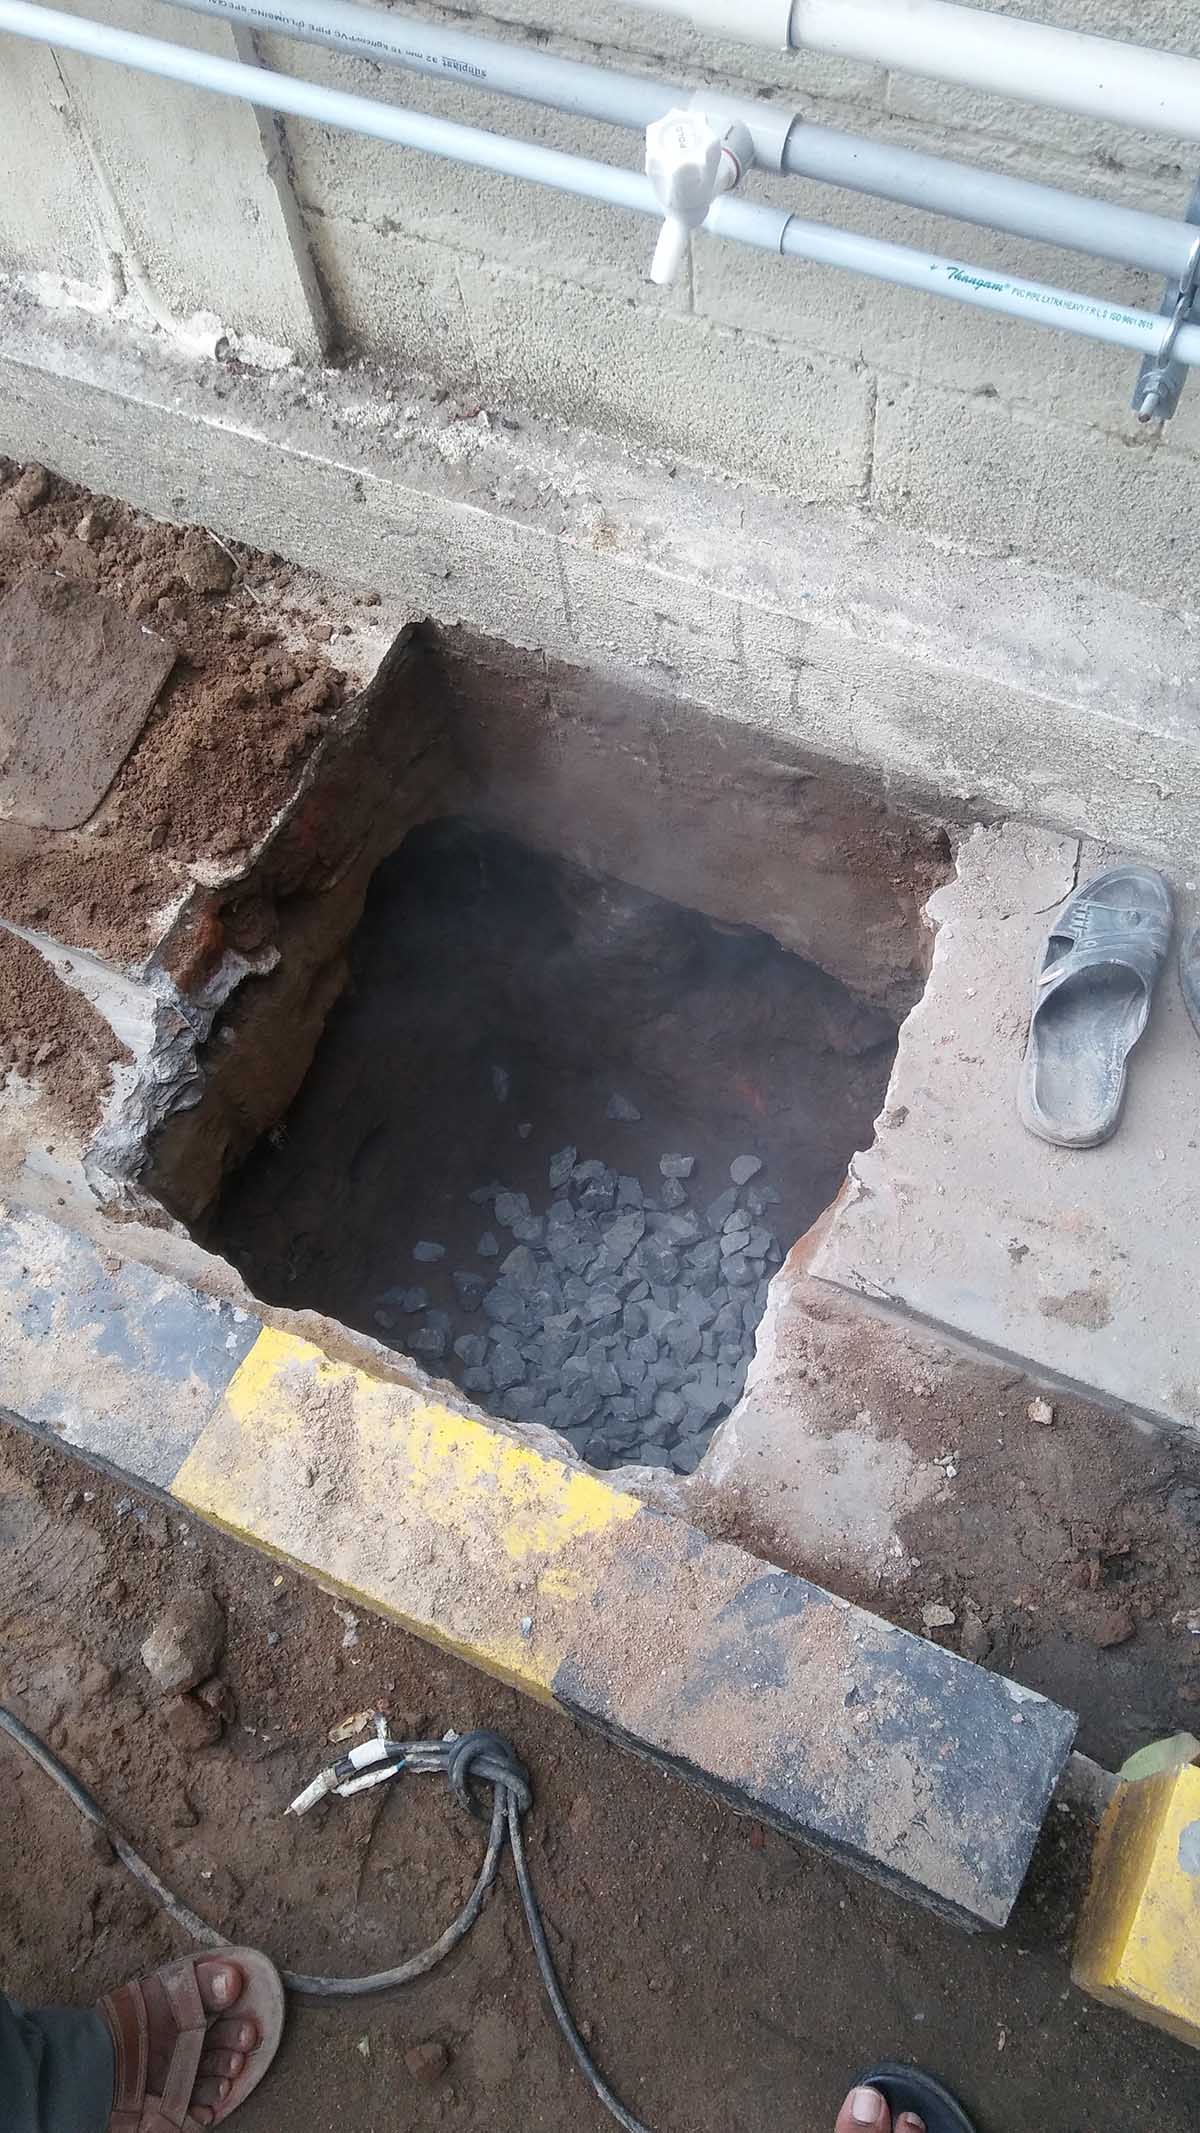
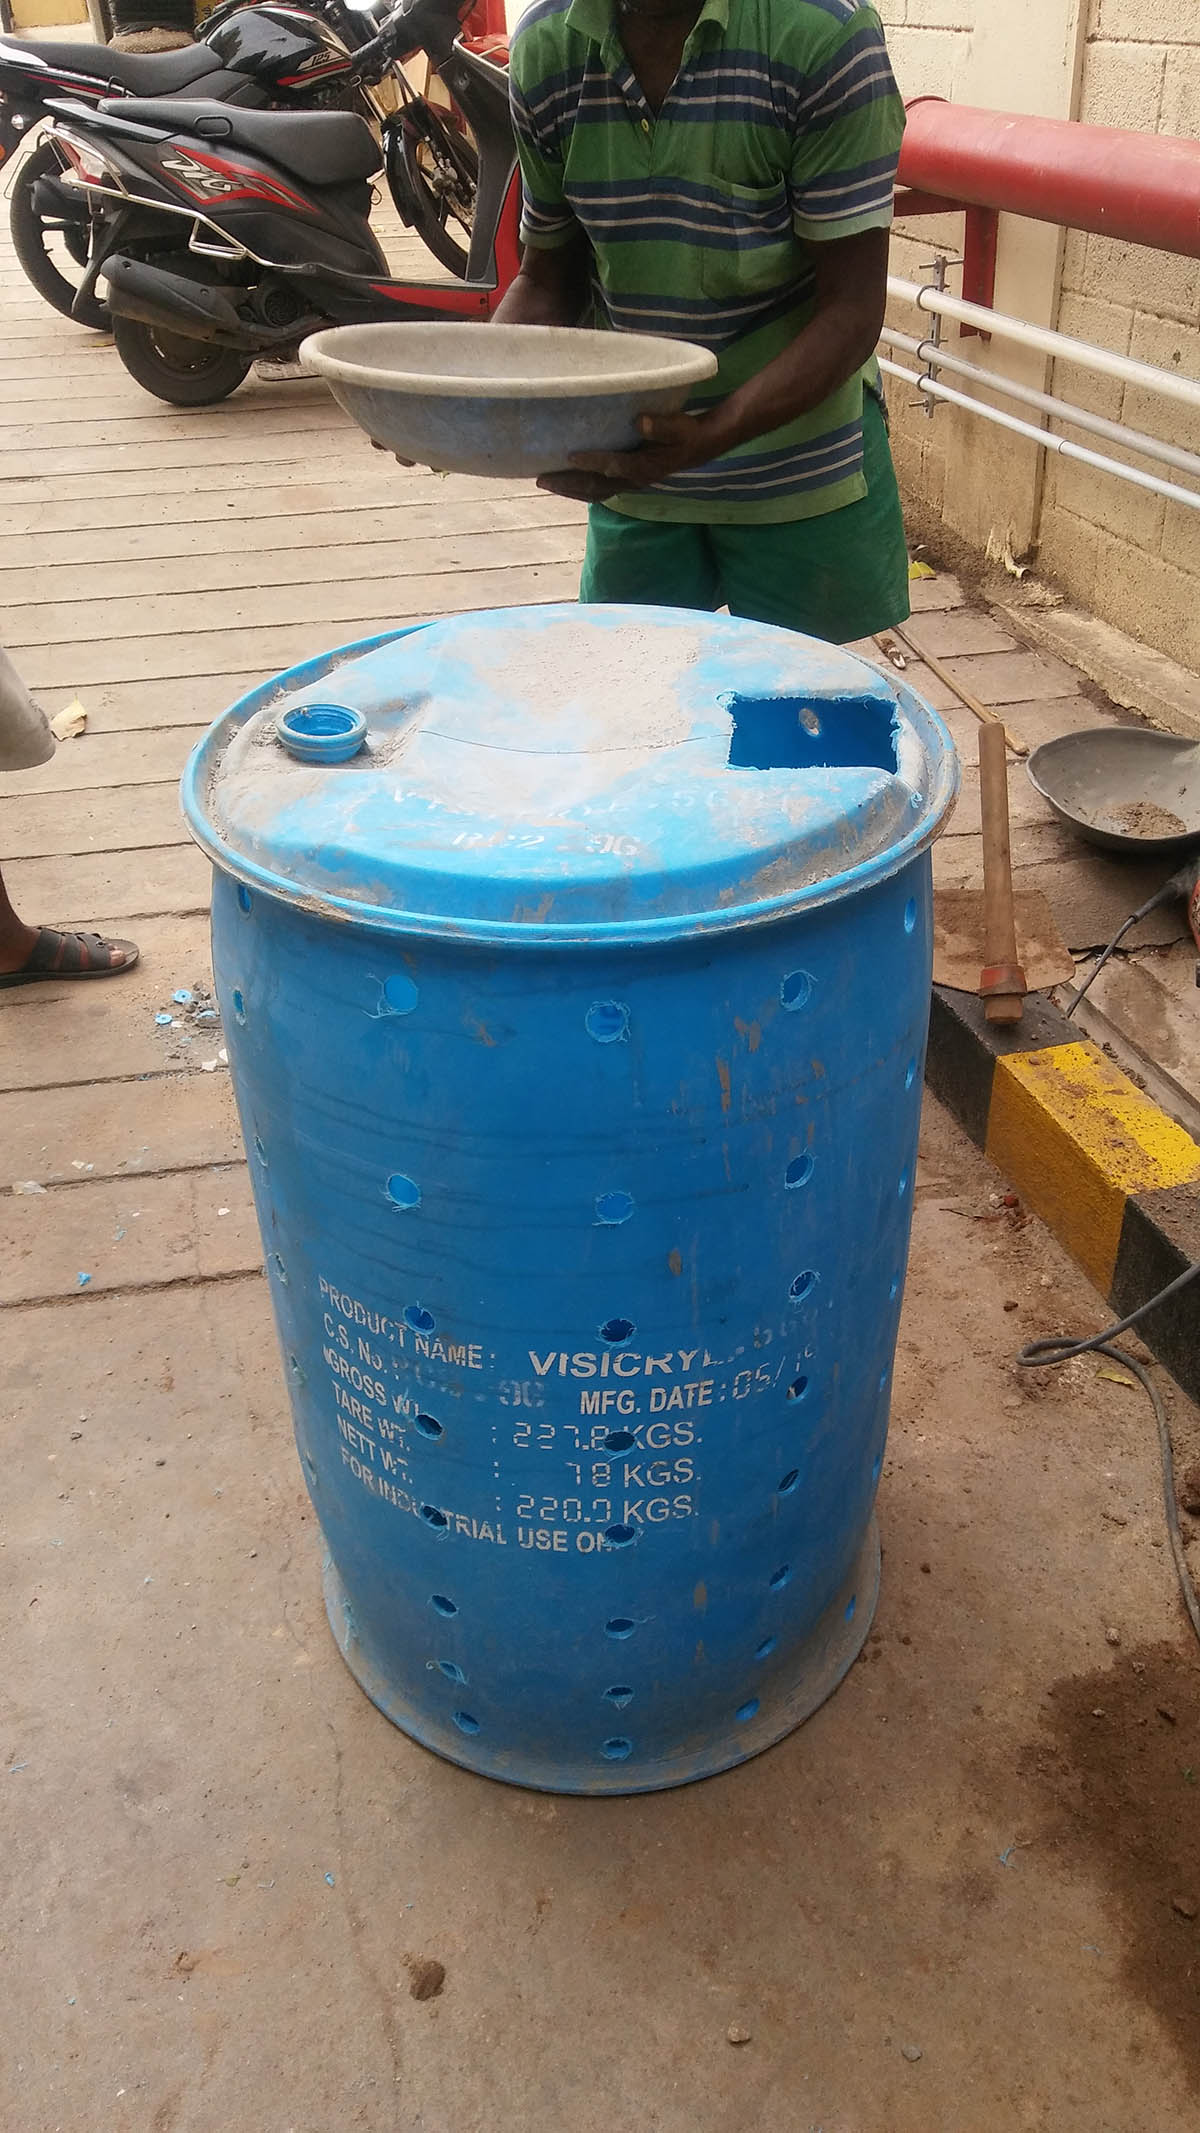
An adjacent strip of surface needs to be broken to the width of a pipe connection to the pit from the terrace rainwater outlet. The bottom of the pit should be filled with 40mm blue metal gravel up to a height of 2”. Place an empty plastic oil/chemical barrel of 200 liters capacity, centered in the excavated pit. The barrel has to be drilled with holes around its surface area and at its bottom. The cap of the barrel must be cut into a bigger hole for the pipe connection.

The barrel is about 3’ to 3’6” height. Hence, you must envision how the heights workout to finish the pit at the formed ground level and avoid a bump. The top of the pit is finished with a manhole cover and its sleeves will take up an inch or two. Hence the manhole and the gravel bed below take nearly 6” of soil depth, which needs to be dug out too.
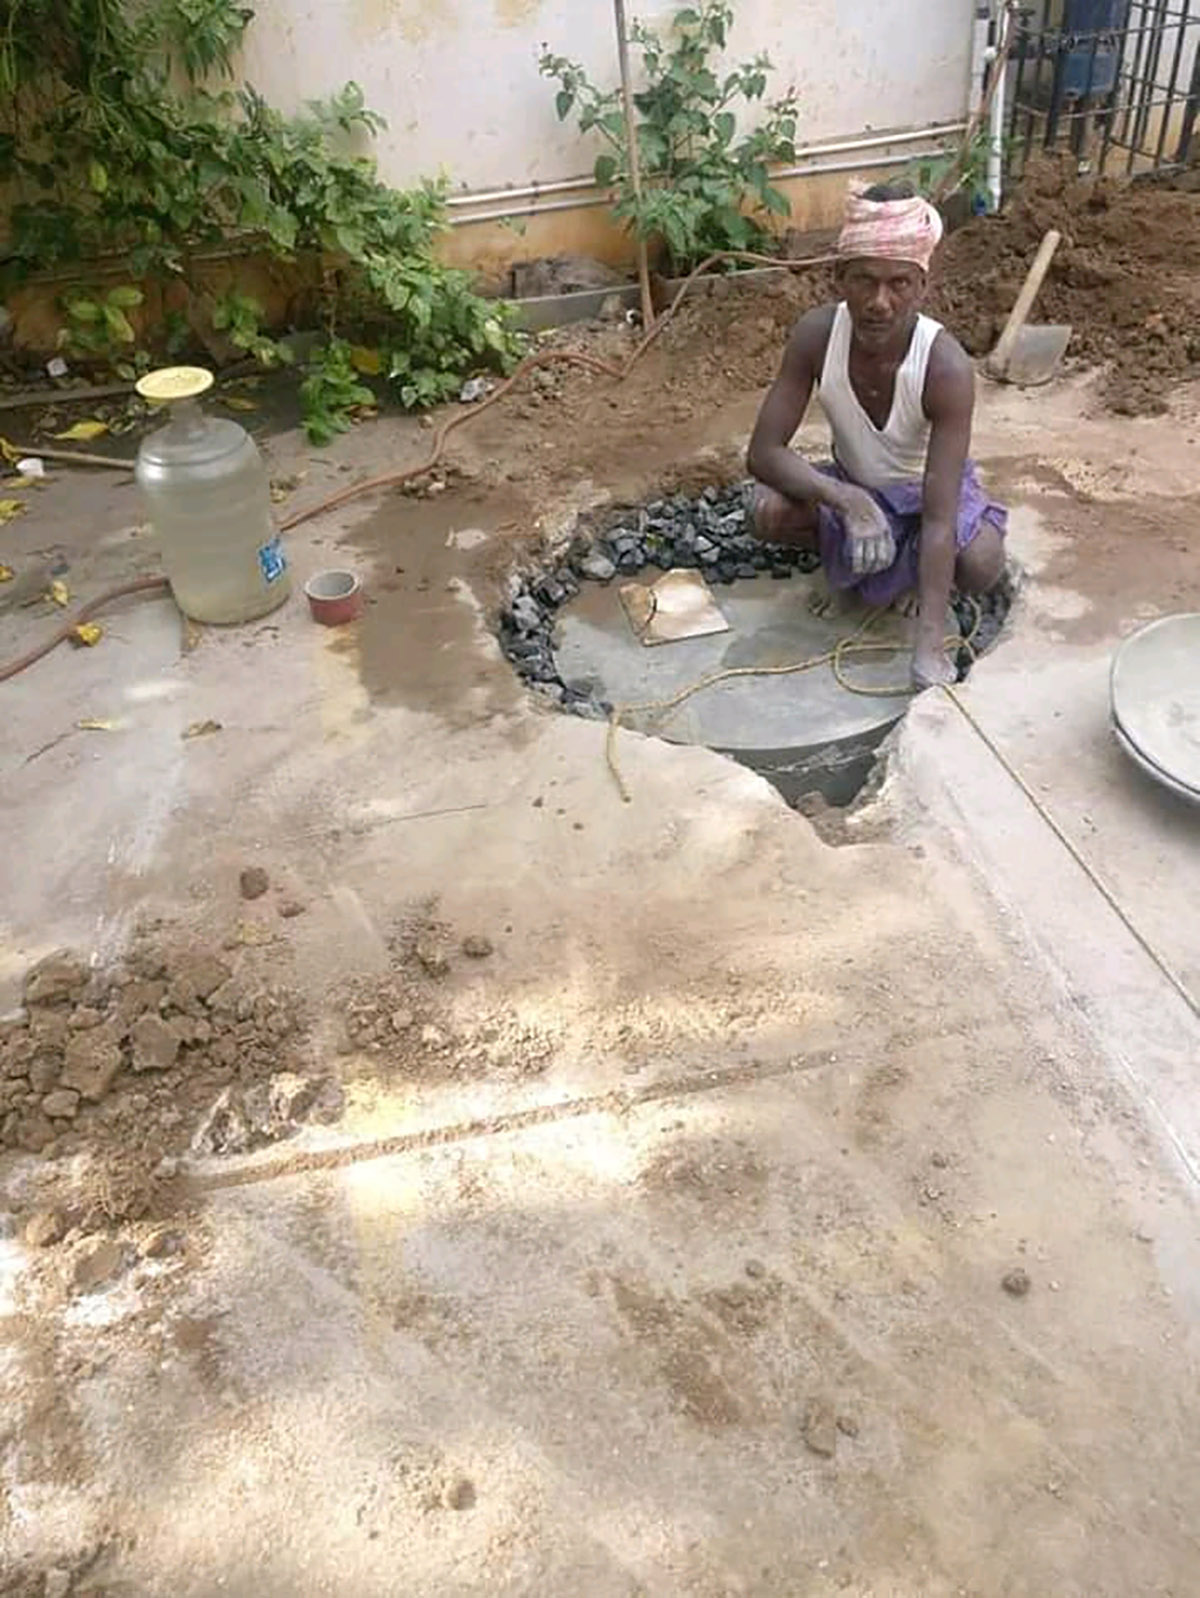
Once the barrel is centered, fill up the pit with gravel up to the brim. After the pit is filled and the pipe bed covered, finish the surface with concrete or place the cut out blocks back. If the pit is to be made in the middle of an existing gutter, no manhole is required and top of the barrel should be covered with gravel up to the surface. Ensure that the hole in the barrel is meshed for the gravel to sit on it.
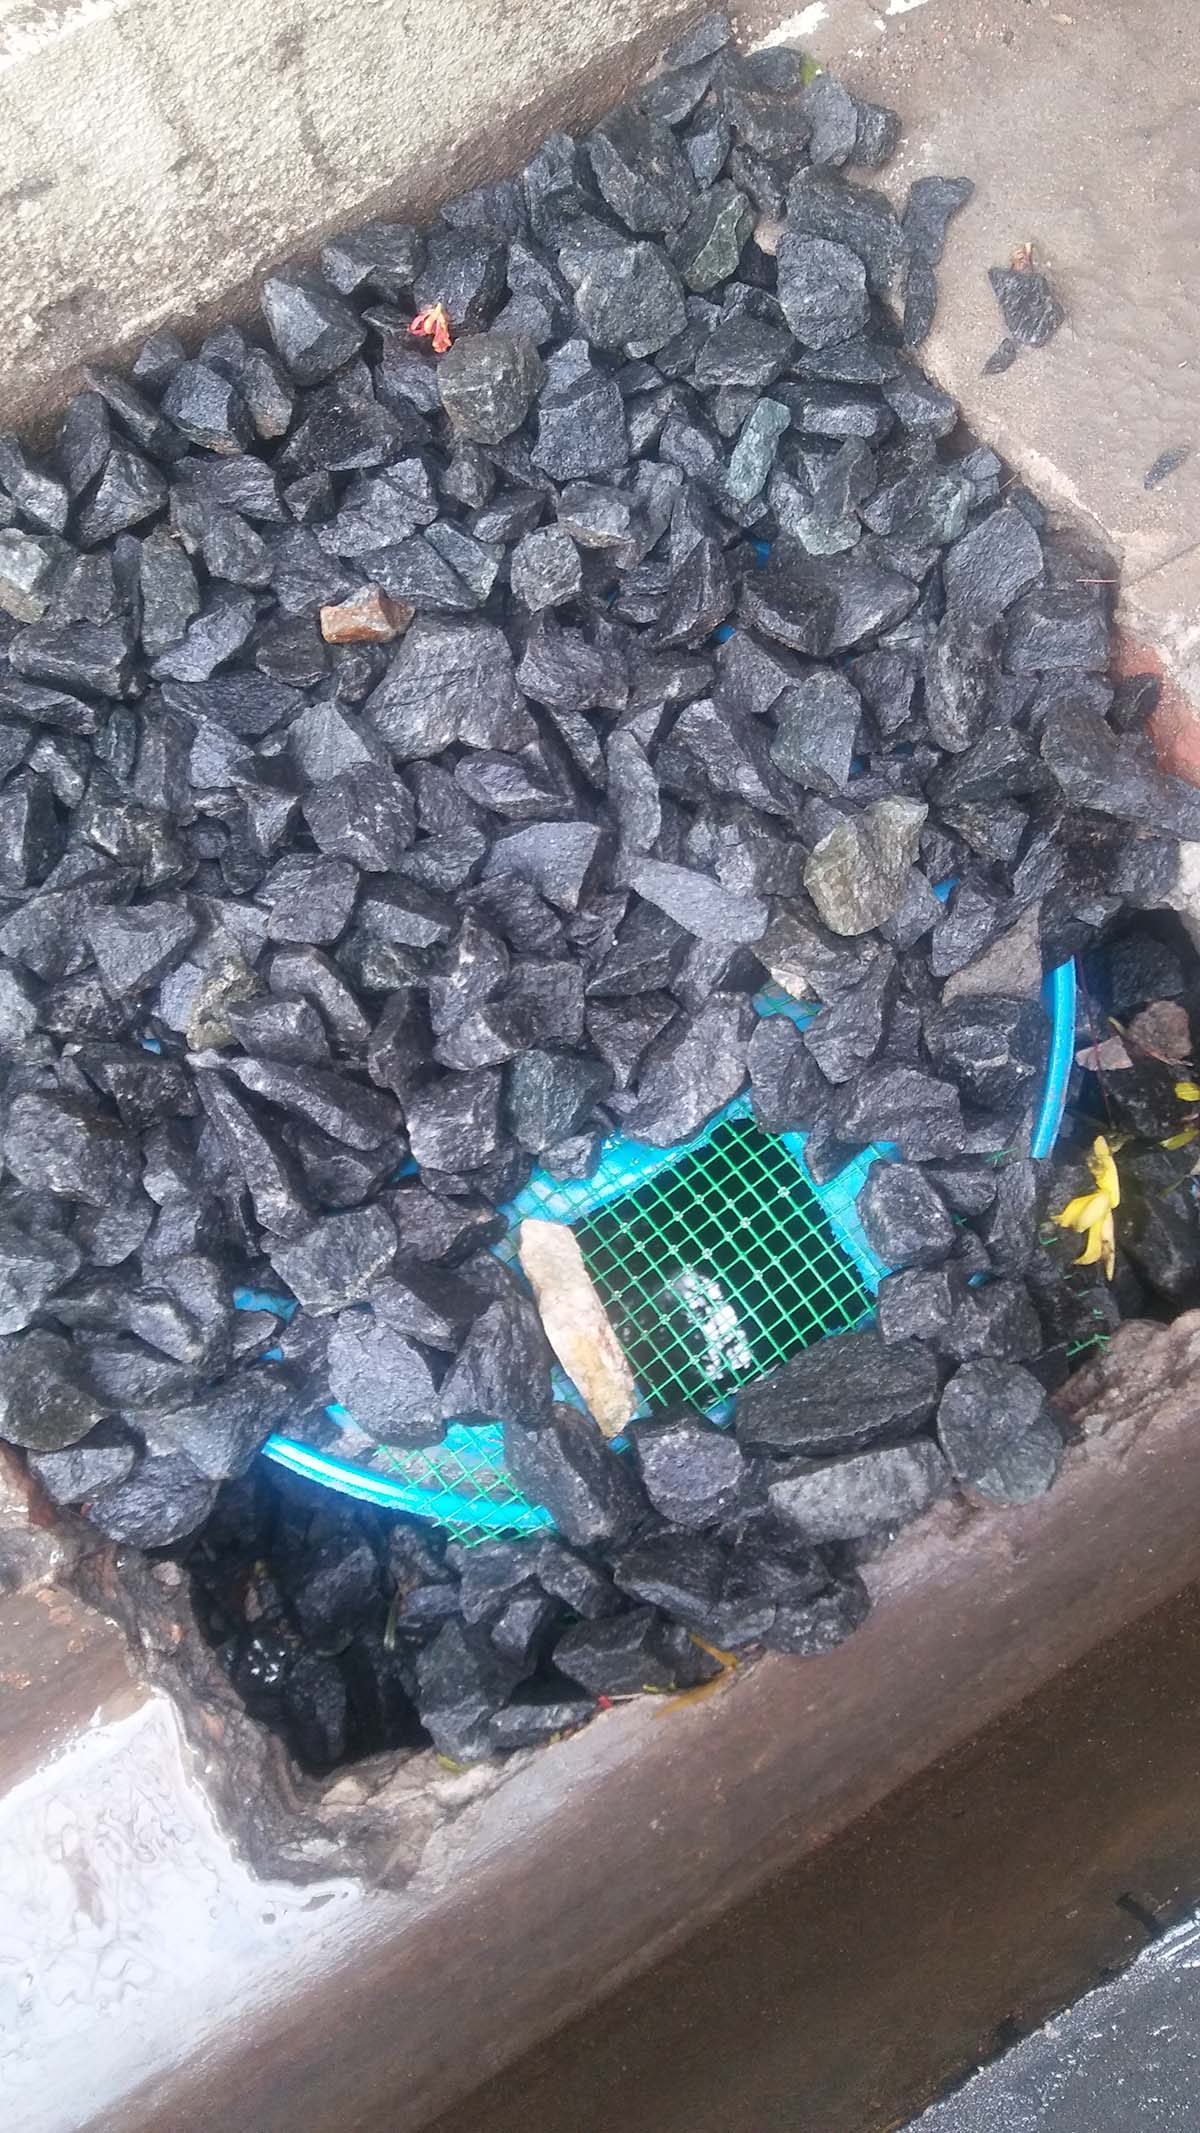
The soak pit filled with gravel up to the barrel's brim.
It requires 3 men to construct the pit with the excavation tools. It typically takes 20 half-filled cement bags of 40 mm blue metal gravel (one such bag is referred to as one “kuzhi” in Tamil). When pre-planned with this way, the exact labor and materials can be transported, to finish the work in a day.
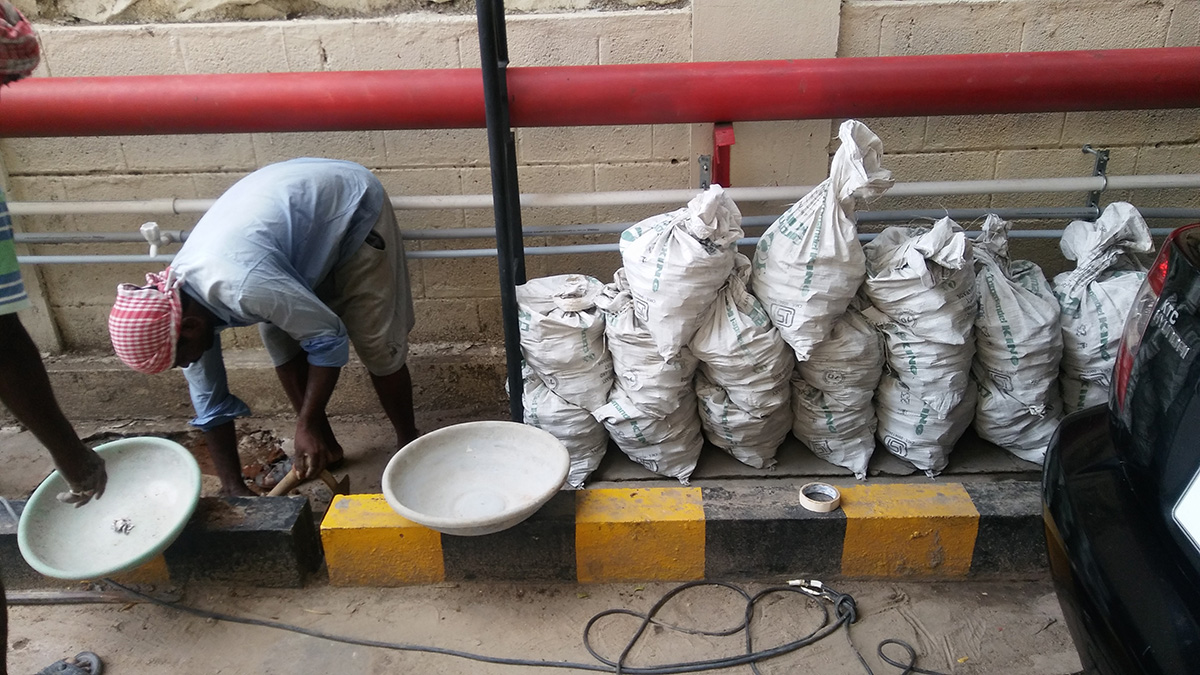
"Kuzhi" bags with gravel.
Construction sequence for a concrete ring system
Concrete rings are made in diameters of 2’, 2’6”, 3’, 4’, 5’ and 6’. The largest used in the city so far is 4’. These rings are 2” or 3” thick and must be cured well to not have too many pores on the surface. A smooth finish means a stronger surface. Rings used mostly in Chennai are 1’ in height. In different cities, 1’6” high and 2’ high rings are available.
A concrete ring being dropped.
When connecting terrace rainwater pipes, the rings must be broken to the diameter of the pipe, along the edges of the ring. Careful chipping of the concrete ring within a marking of the pipe’s diameter ensures not disintegration.
5’ and 6’ deep pits go well with 2’ and 2’6” diameter rings. 8’ and 10’ deep pits must take up the larger rings. Alternatively, we can also workout larger capacities with 4’ to 6’ diameter rings for shallower pits.

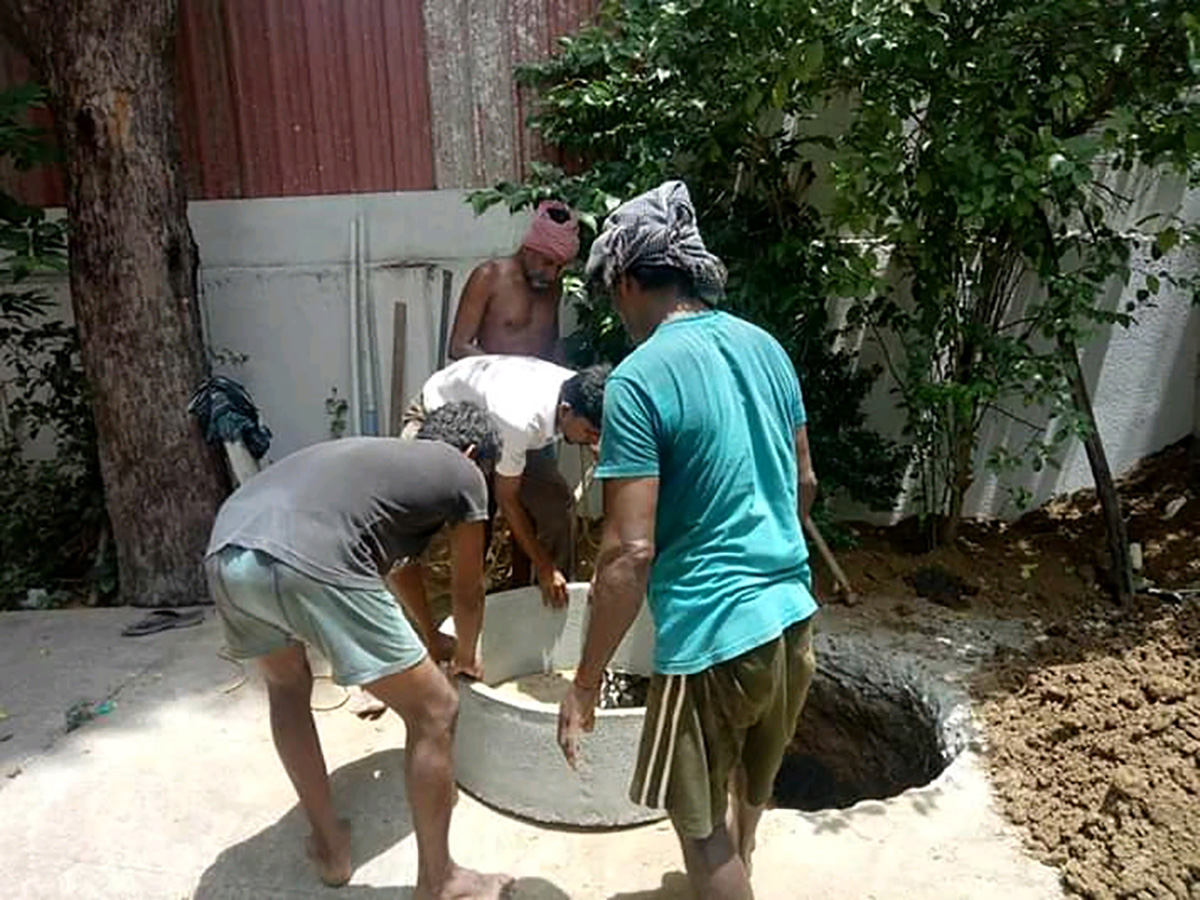
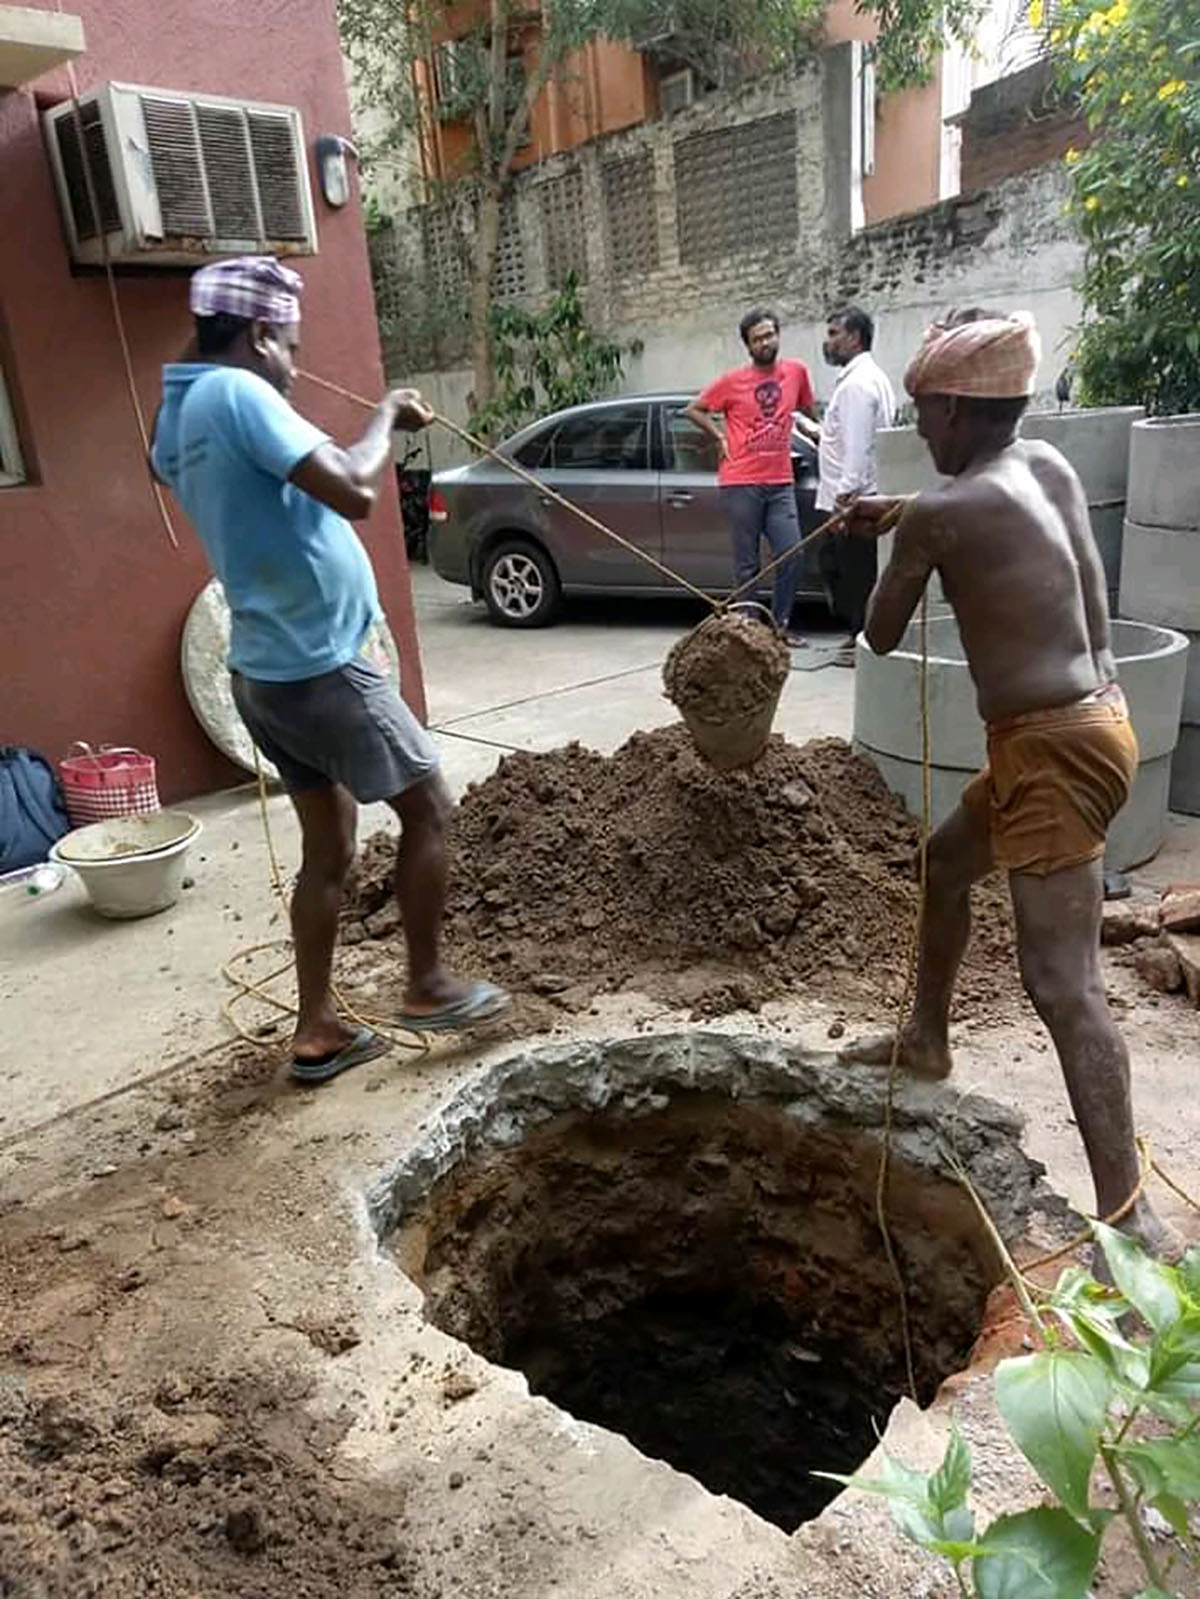
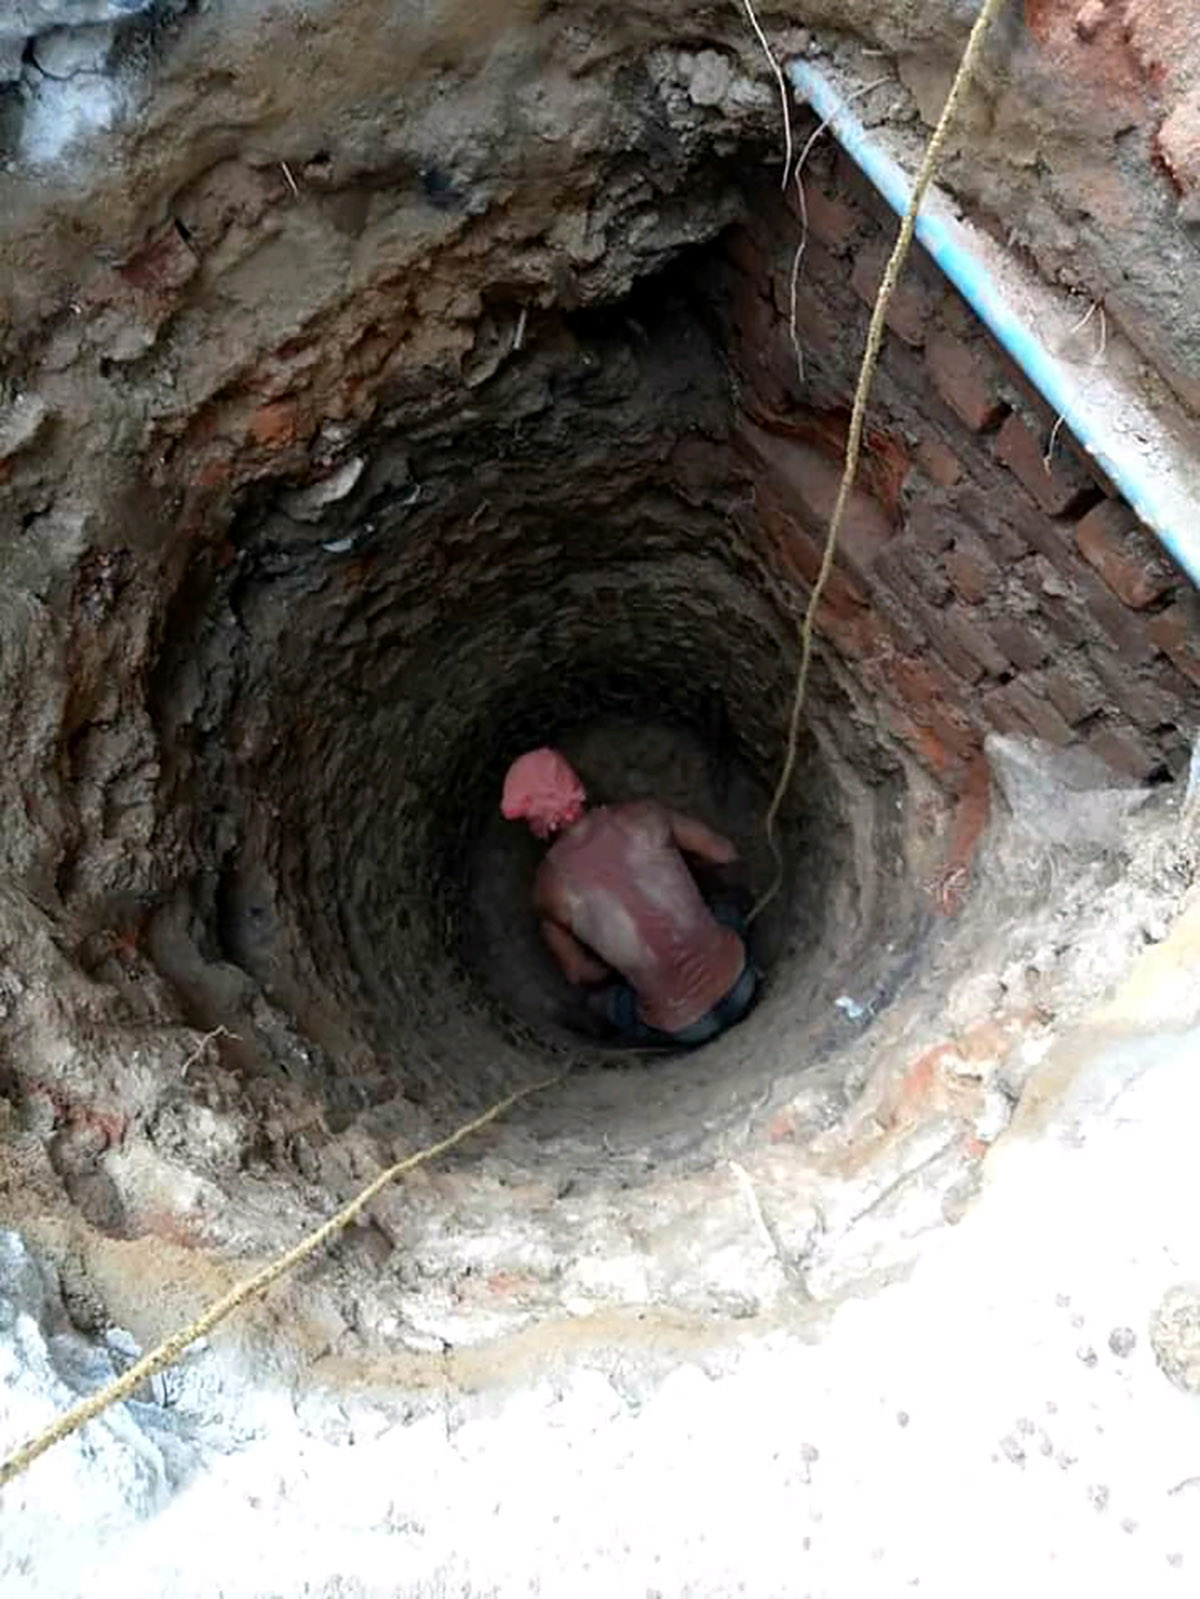
Once the pit is dug, the concrete rings need to be carefully brought down inside with ropes tied around. Dropping the rings is the hardest part and can injure people if not handled diligently. It takes five people above and a person inside the pit to lower a 3’ diameter ring and place it centered into the pit. For each ring, a 2” to 4” gap must be excavated to fill up debris and gravel, around the rings.

Once the rings are dropped, an RCC circular manhole cover, with a hole in it must be placed on the stacks of rings. Only after, placing the manhole cover, should the gap around the pit be filled. During the first rains, the soil at the bottom of the pit can potentially cave in due to loosening. Hence the debris excavated must be packed back in to half the depth preferably. The remaining half must be filled with gravel, as in the barrel system.
Gravel can be filled inside the concrete rings to, up to a foot high or two, but it is rarely followed. It is important to not fill up the rings completely with gravel. Finally the hole on the manhole can have a mesh or a floor trap for the rainwater to run off inside. On a sandy ground, the concrete pit can be finished with gravel till the top. On formed grounds, the finish can be as desired.
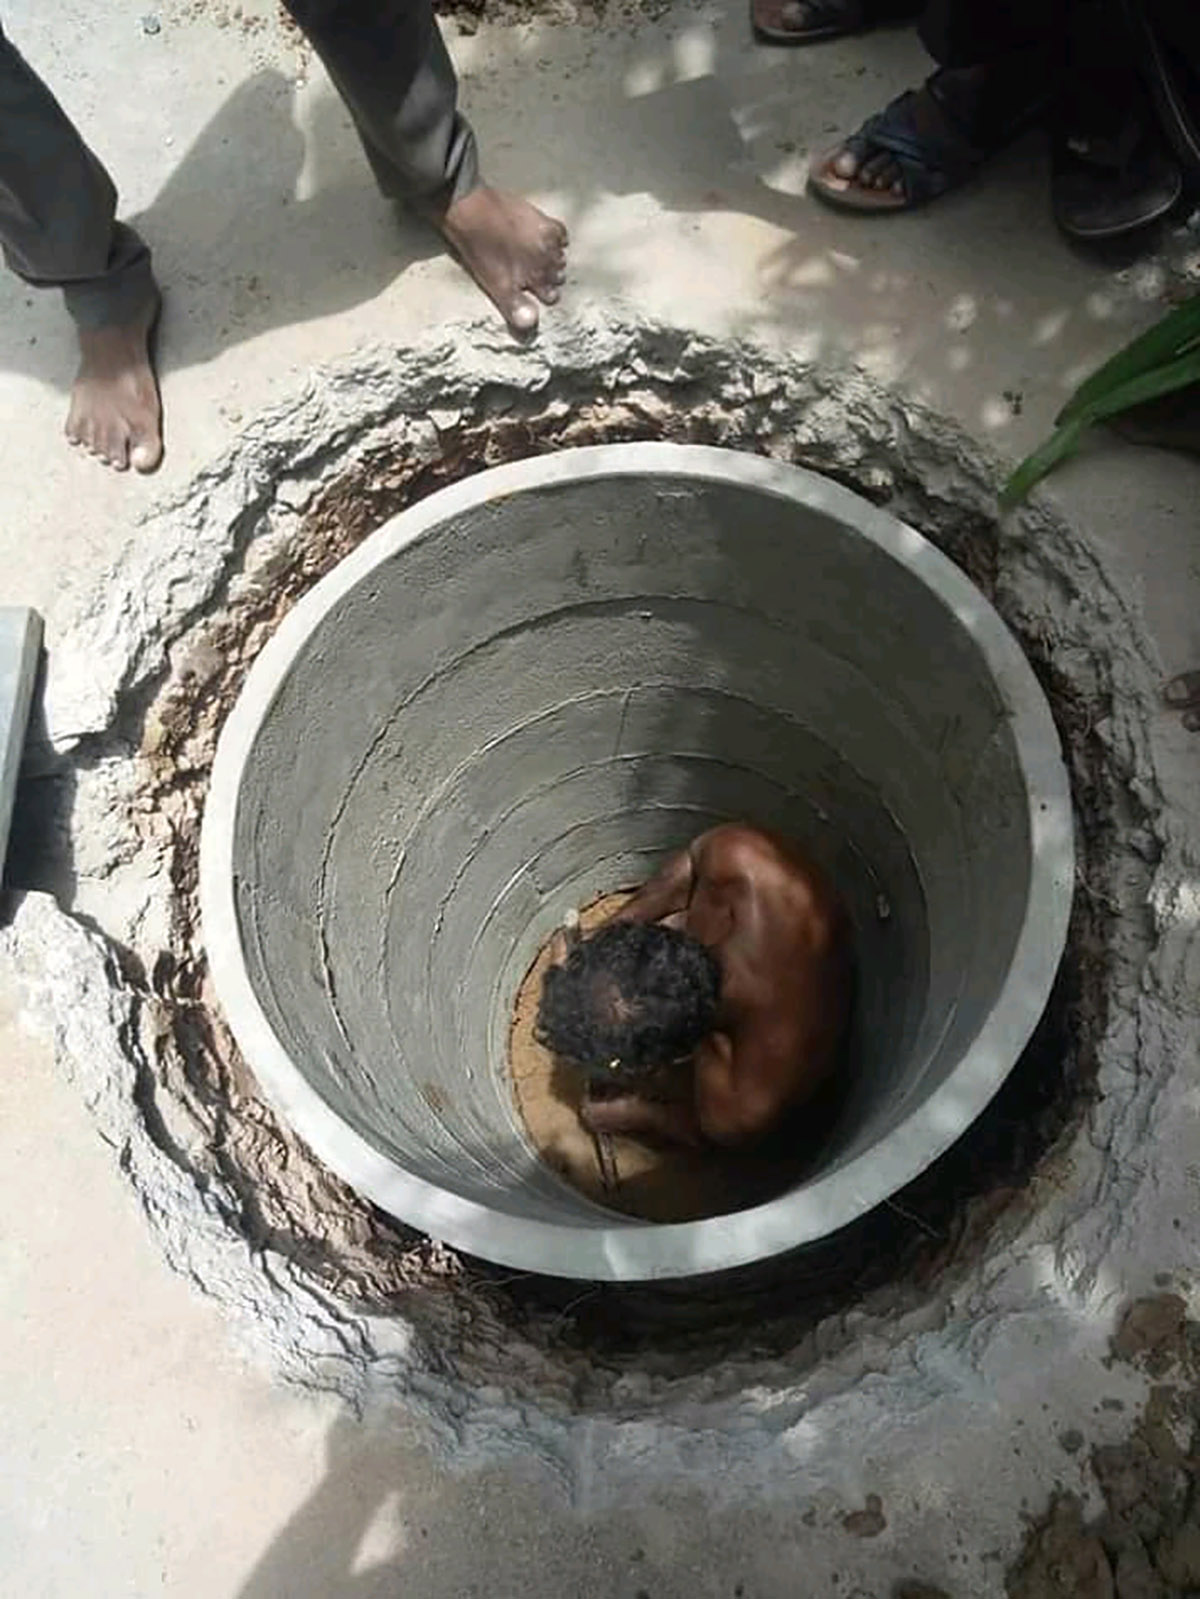
The concrete rings stacked and centered.
For 5’ and 6’ deep pits, three men, tools and materials will do for a day’s work, while the 8’ and 10’ pits need 5 men and more tools and materials.
Since they’re point rechargers, soak pits are best for small plots and denser residential neighborhoods. Plot or terrace areas ranging between 600 sqft to 3500 sqft should opt for one pit of about 4’ to 10’ depth. 4’, 5’, 6’, 8’ and 10’ depths are standard and easily buildable. A need for deeper capacities and larger areas can go for multiple soak pits or a larger system.
Cost analysis
More efficient ways of labor can always be identified. They would also depend on the earth conditions and available equipment. This can have an influence on the cost.
At this point of time, the barrel system can amount up to Rs. 6500 (USD 89), inclusive of all charges. Concrete pits of 5’ and 6’ depth cost Rs. 9000 to 10000 (USD 124 to 138). Pits of depth 8’ and 10’ can cost up to Rs. 12000 to 17000 (USD 166 to 235), depending upon the amount of plumbing work to be done.
In Chennai, concrete rings range from Rs. 300 to 800 (USD 4 to 11) inclusive of transport charges. Rings of heights above 1’ are costlier and don’t work out an effective cost, as these soak pits are low budget. The costs mentioned here are of actual rates, if only labor and equipment fee are factored in. Rainwater harvesting is desperate today, and carried out as a movement by NGOs and volunteers in the city. Building the pits with consultants can add commercial charges.
Make the water you need and share it
Rainwater harvesting is a chapter on aligning design with nature, by adhering to the water cycle in the atmosphere. The Tamil Nadu government’s order in 2001 for Rainwater Harvesting was the answer to the state’s decades’ long annual water troubles.
But indifferent behavior never implemented the order. Over-exploitation and amorality have made glitches in the water cycle. They can be fixed with these simple and do-it-yourself harvesting solutions, entailing therefore a spread of this message.
All images courtesy of Nallore Vattam and Vetri Vel.